Trying a new photo set-up here after months of dissatisfaction with my pottery pics. I studied several set-ups other potters shared on their blogs and found some great information which I put links to
in this post. I really liked Emily Murphy's set-up but thought
Joy Tanner's was a little more doable for me.
Here's my version of Joy Tanners. I did use the clamp light overhead but have kept the clip-on desk lamps used in my
old set-up for now. I used compact fluorescent bulbs, the daylight kind. 100 watts equals 26 watts in the compact fluorescent and 40 watts equals 13. I must be stuck in the past because when I say 100 watts that just puts a better picture in my head about how bright the light is. The overhead light is 100 watts. In these pictures the side lights are 100 watts also. I did take some shots with just the 40 watt bulbs on the sides and didn't see a big difference between the 40 and the 100 watts. Those clip-on desk lamps are only supposed to take 40 watts so I will have to decide if that's adequate.

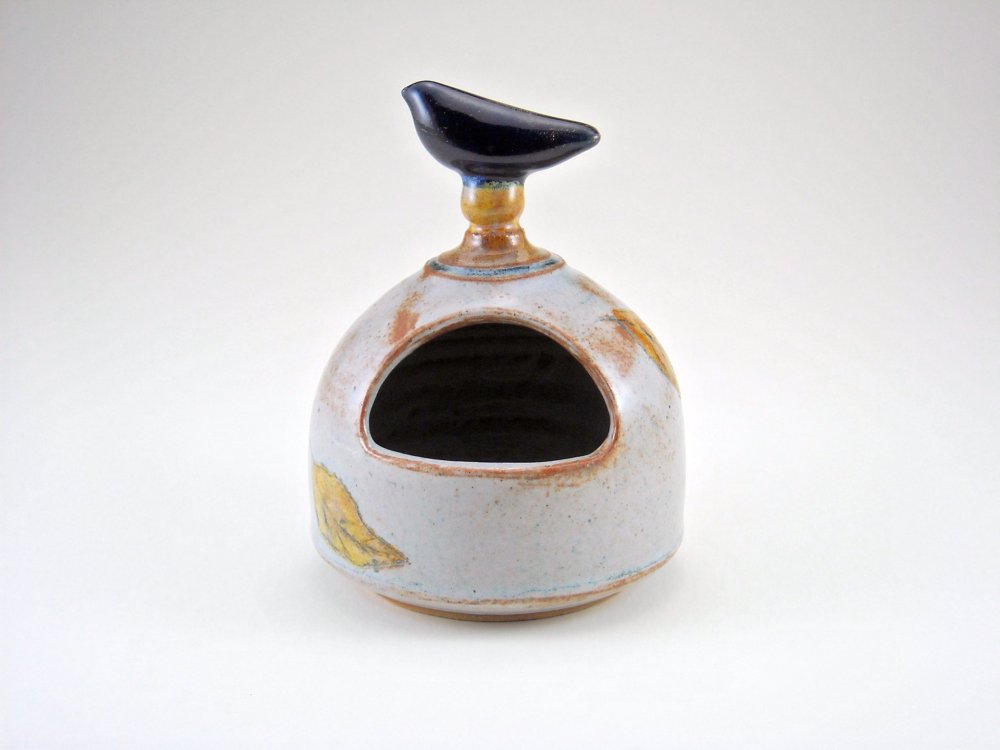
Here's a few first attempts. By the way, the background is just a large white matt board. I will probably go with the graduated vinyl but wanted to make sure things were going in the right direction before I spend money on that. Picture #1 has no editing done to it. I really would like to get to the point where I don't have to mess around with a lot of correcting.
 |
| 1. |
#2. Same picture, but I clicked on the Auto-fix in Picasa. Like this one better.
 |
| 2. |
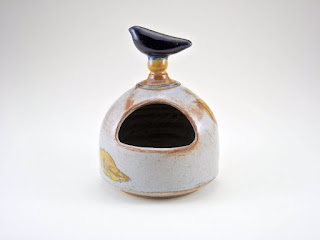
Picture 3- I wanted to see how this glaze, which has more shine to it, photographed. I was disappointed. One tip I picked up in my reading is using a gray card can help keep colors true. Another was to focus on the background before placing your pottery in the frame. I did the latter because I don't have a gray card, but it looks like the card might be a smart purchase. White balance would be another help, but I don't have this feature on my camera, a Nikon Coolpix L16.
 |
| 3. |
This is what Auto-fix did with it. Still not there.
 |
| 4. |
I hit the Auto-fix for this mug because it was washed-out with too much reflection. It might be necessary to make more side diffusers and double-up on them.
 |
5.
That's it for now. The education continues. |


No comments:
Post a Comment